
The title is referencing a scene in How to Lose a Guy in 10 Days. Major props to you if you already knew this.
My dear friend Maria asked for tips on frosting sugar cookies, so I thought I would do my first ever blog tutorial! This was a tad nerve-wracking but I think it turned out ok. Tip #1 though is never frost cookies at 5:30 in the morning. Yes, that's when these pictures were taken! But it's all for you, sweet readers :)
First, you need to have a good recipe for the dough. You don't want cookies that lose their shape, but you still want them to be slightly sugary. Here's my recipe.
1 egg
1 cup sugar
2 sticks butter softened (do not microwave to soften)
3 cups flour
a dash of vanilla extract
Beat the egg and sugar until mixed. Add the butter and vanilla and mix until creamy. Slowly add the flour. Chill for at least 1 hr. Roll out the dough to 1/4" thickness and shape using cookie cutters. Bake at 350 for 8 minutes. (Tip #2 - do not bake longer than 8 minutes and let them cool on the pan for about 5 minutes. The cookies will continue to bake on the pan. I'm serious about this one!)
This recipe makes about 1 1/2 dozen cookies - so double up!
This is what they should look like.
Next, make up the frosting. We'll use two types of frosting, base and royal. The base icing consists of:
1/4 stick butter softened (not in the microwave)
2 cups powdered sugars
3 tbs milk
Mix until completely smooth.
The texture of the base icing should be very smooth and should be glossy. Add food coloring if you want.

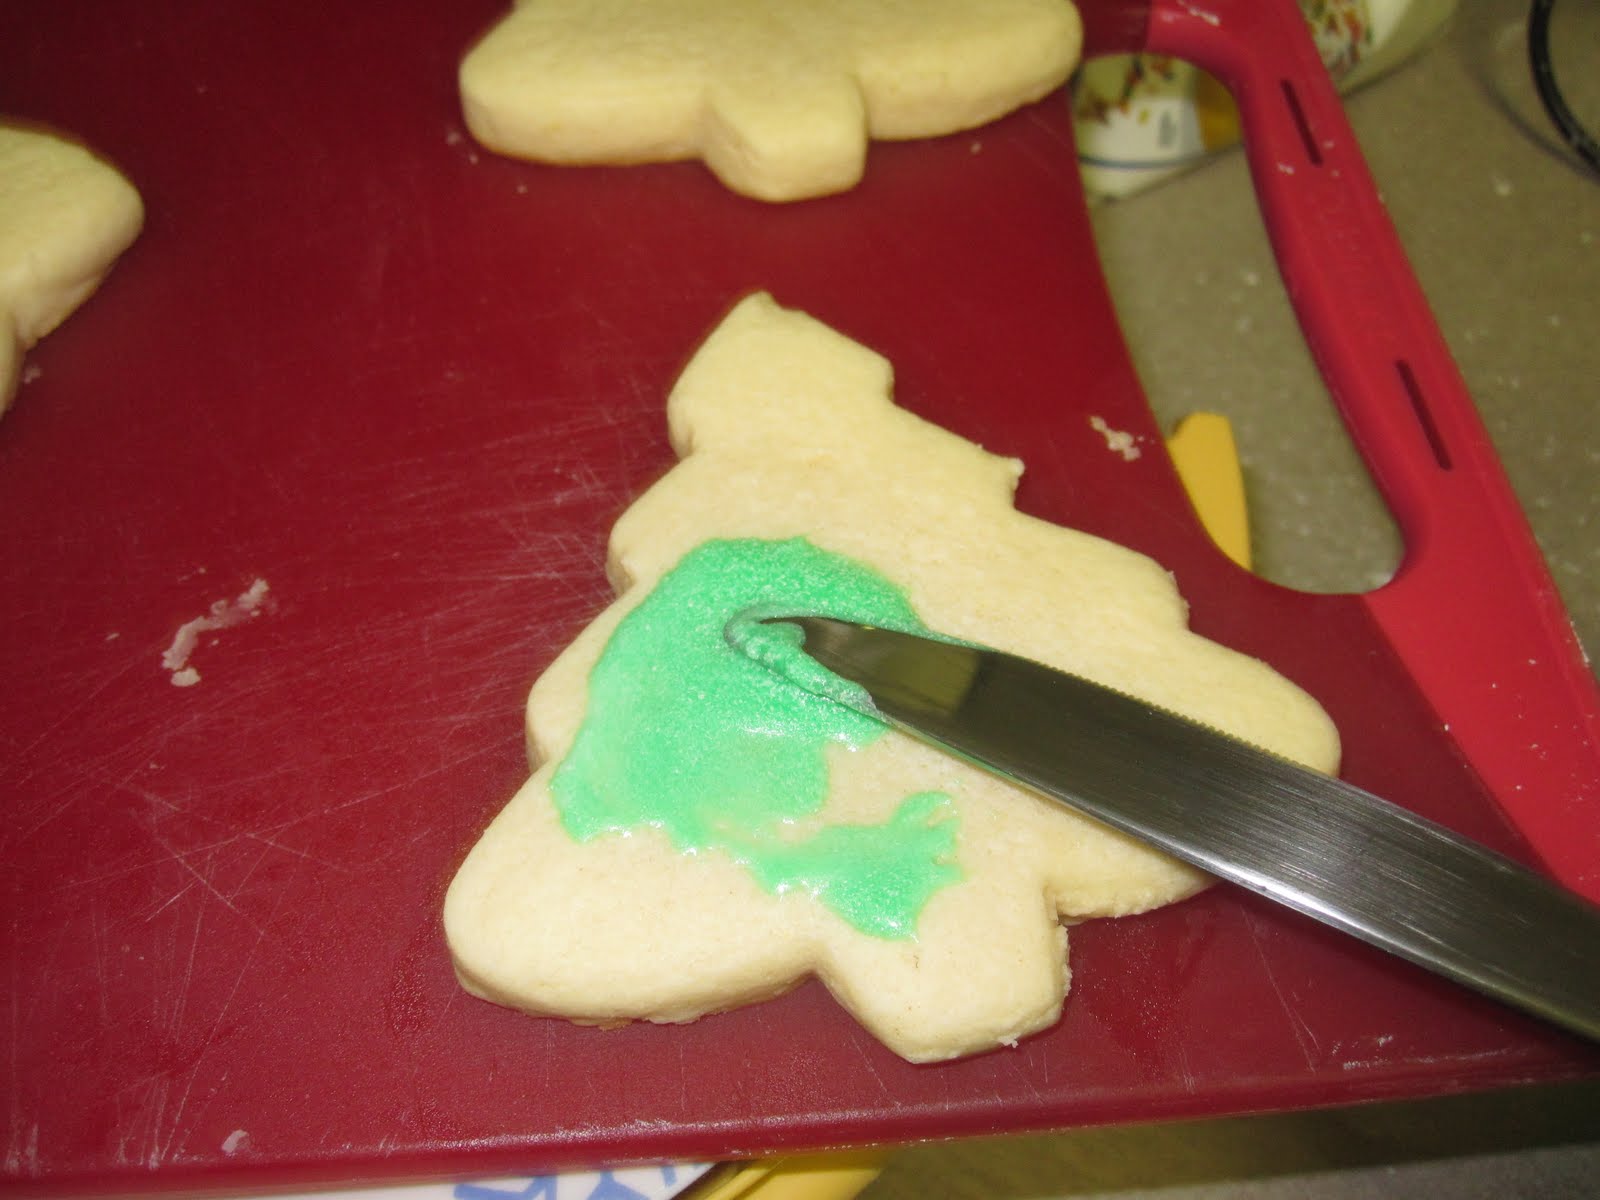
This is the finished product of the base frosting. You can leave the cookies like this if you choose. The frosting is thin, but sugary so perfect for serving. However, continue on if you want to make the cookies look magazine quality - or you just like frosting.

Meringue Powder is the best for royal icing! Instead of using egg whites and having to ensure not getting yolk mixed in, etc, just use meringue powder. You can buy it at craft stores like Michaels, but also Walmart has it in their baking/party stuff with the Wilton products. It's a tad pricy -about $6 a bottle, but worth it!

To make the royal frosting:
Beat for about 7-10 minutes until stiff peaks form. Usually I get impatient and beat until semi-stiff peaks form. When it looks like this you're good to go

To edge the cookies with royal icing I've found that a #3 Wilton tip works best. This is size of the opening...

In case you're a visual learner, Wilton #3..

Place the frosting into a piping bag (Tip#4 - only fill the bag about half full to ensure that you won't have icing oozing out the top end - it's very distracting when you're trying to pipe a straight line)
Twist the bag and push down with the hand holding the top of the bag. Think of it like squeezing a tube of toothpaste. If you squeeze in the middle it's more difficult to get a steady stream ont he toothbrush. If you start from one end and squeeze, the pressure make it easier for a steady stream of frosting.

Decorate the cookies however you choose! When you finish, they should look something like this!

Now I'm off to share these treats at our staff Holiday Party! If you have questions, let me know. Oh and thanks for joining me for my first tutorial - how'd I do?


6 comments:
Your tutorial was excellent and the photos are terrific. Job well done!
so cute!!!!
Hurray! You've explained this so well that even I should be able to do it! And the cookies are adorable. YUM!
Shelby
You did amazing. Good job!
Why shouldn't we soften butter in the microwave, though??
Great question Renee - softening the butter for the dough using the microwave causes the dough to be too sticky and thus spreading out (which you don't want in shaped cookies.)
If you soften the butter for the frosting in the microwave it will result in little "flakes" of butter appearing in your base frosting taking away from the smooth, glossy finish
I love this tutorial! And I also didn't know that little tip about softening the butter in the microwave. Cute, cute cookies!
Post a Comment